Saturday, November 20, 2010

Two Fall Soups

Oh, my poor neglected blog. The days are shorter, the nights are colder, and I still haven't posted recipes and photos of those soups I made back in late September...

Soup has always been a favorite of mine. It's the easiest, healthiest way to cook whatever you've got in the fridge or pantry. It fills me up and keeps me warm. I think I can be quoted as saying "whoever invented soup was a genius." Not my greatest moment of high intellectual thought, but you get the idea. I'm a fan.

Mr. PL on the other hand, used to look as me with a puzzled expression when I would suggest soup as a meal. He was fond of saying, "Soup is not food!" Meaning, "But if I eat soup, I'm still going to be hungry."

I took it as a challenge to come up with or find some really delicious and filling soup recipes. Here are a couple of hearty ones for fall. Stay warm!

Split Pea with Barley Soup
Serves 4

1 cup of dry green split peas
2 cups of chicken stock
4 cups of water
1/2 cup of uncooked pot barley
1 large onion, chopped
1 clove of garlic, minced
2 large carrots, peeled and diced
1/3 cup of diced turkey kielbasa
2 Tablespoons of dry herbs or 1/4 cup of chopped fresh herbs such as oregano, thyme, marjoram, chives
1 bay leaf
sea salt and black pepper to taste

Put everything in a large saucepan and bring to a boil. Reduce heat to a medium simmer and cover for about 30-40 minutes, or until barley and split peas are cooked. Take soup off the heat and discard bay leaf. Using a hand mixer (carefully...you don't want to splash yourself with hot soup...) roughly puree the soup with a couple of pulses - keeping the chunky texture, but blending the ingredients slightly. Return to heat just before serving.


Leek, Potato and Tarragon Soup
Serves 4

This is a recipe I used from one of my favorite sites, Epicurious.
But I chose to omit the cream and to puree the soup, for a smooth low fat version.

3 tablespoons butter
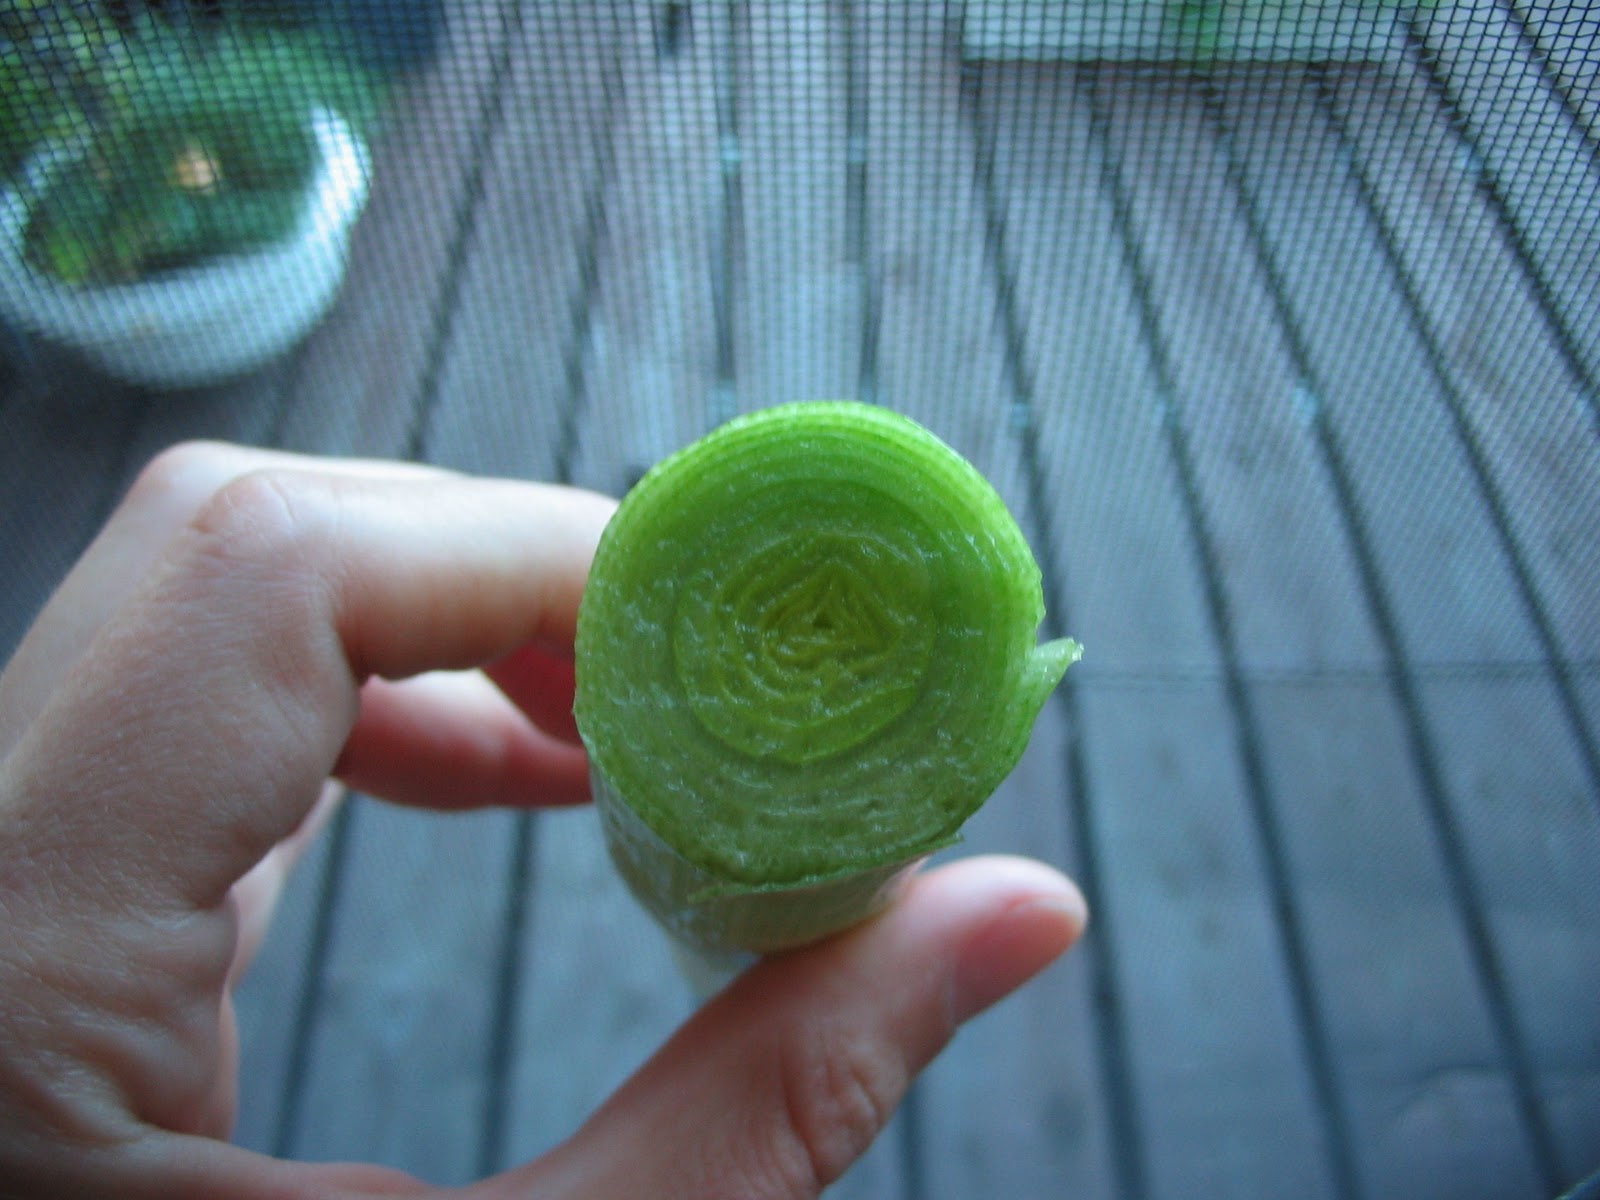
2 leeks (white and pale green parts only), sliced (about 2 cups)
1 onion, chopped
4 garlic cloves, minced
2 tablespoons water
1/2 pound yukon gold potatoes, scrubbed and unpeeled, cut into 1/2-inch pieces
4 cups low-salt chicken broth or vegetable broth
2 teaspoons chopped fresh tarragon
1/2 cup plain low fat yogurt
sea salt and black pepper to taste

Melt butter in a large saucepan over medium heat. Add leeks, onion, garlic, and 2 tablespoons water. Cook until leeks are just golden, about 10 minutes. Add potatoes and broth; bring to boil. Reduce heat to low and simmer until potatoes are tender, about 10 minutes. Remove from heat and let soup cool slightly. Stir in yogurt. Using a hand blender, puree until smooth. Mix in tarragon and slowly reheat for serving. Season soup to taste with salt and pepper.


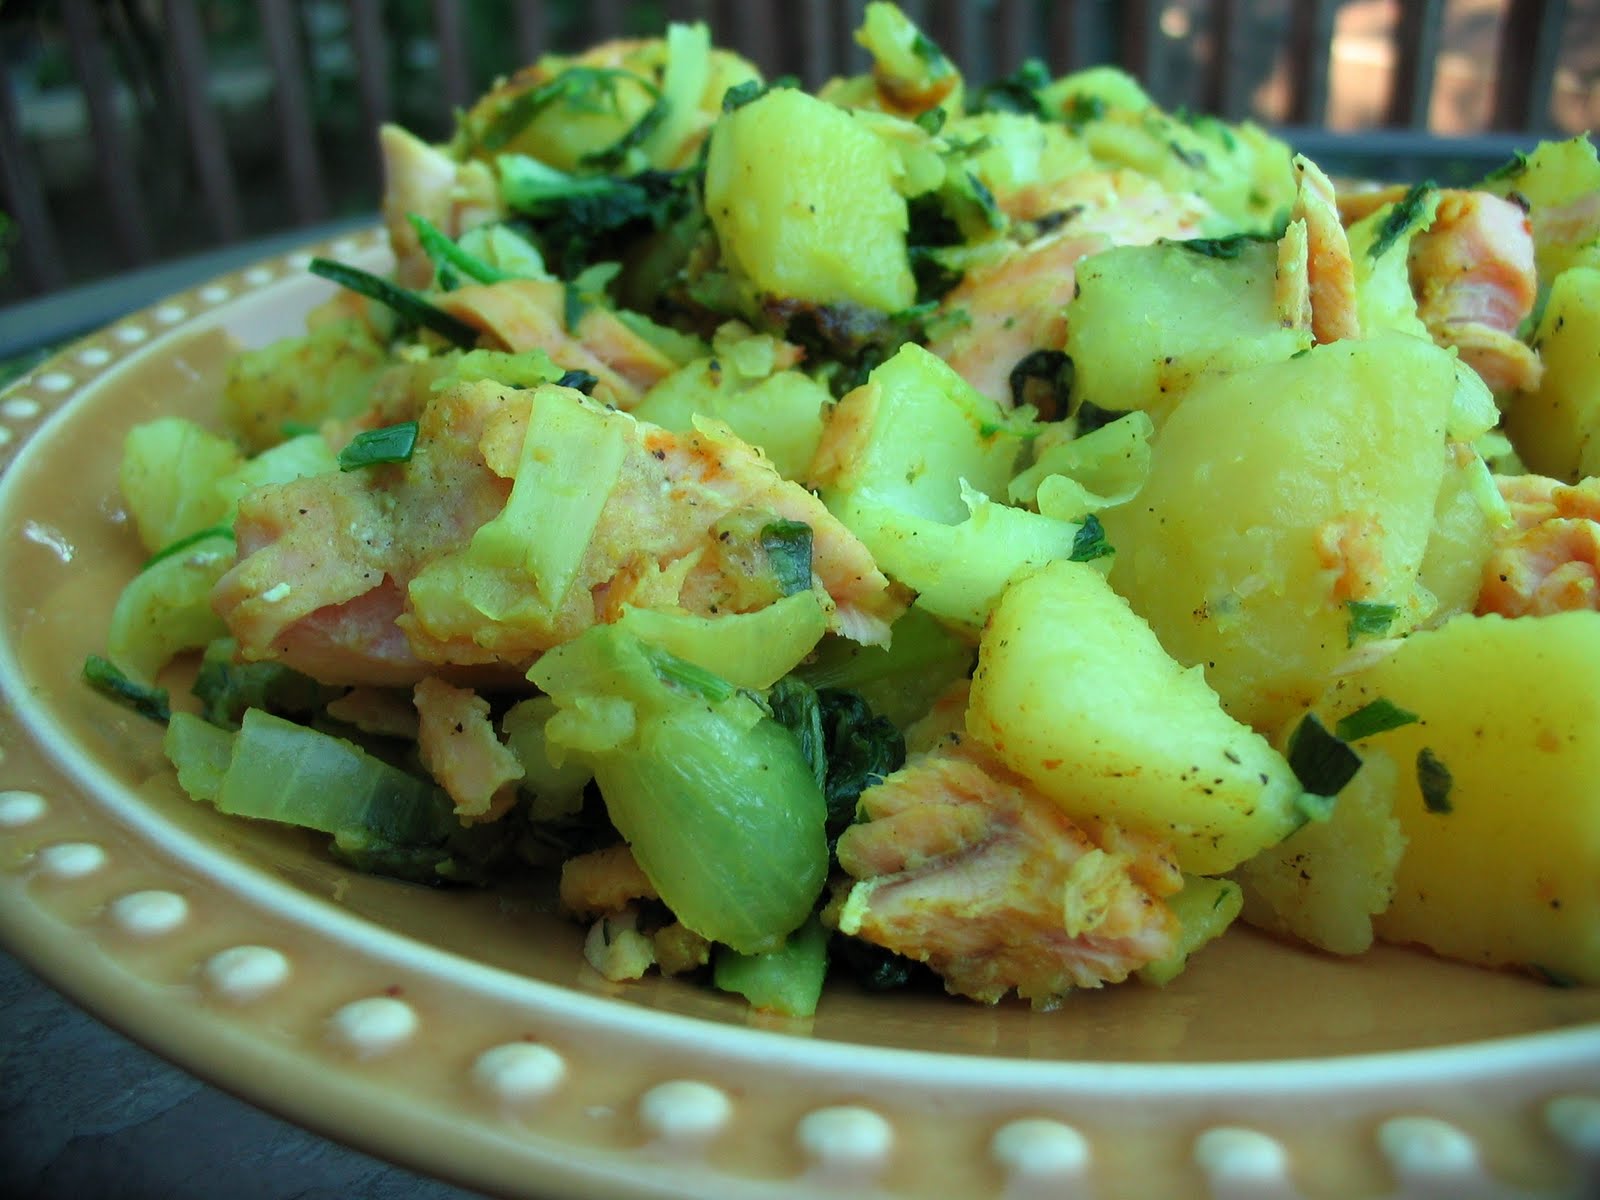
Yes, it's true. Soup does not photograph very well. Neither do most things in my semi-dark kitchen, which is why it sometimes looks like I do all my cooking outside on the deck.

And, I'm not as clever as Ana, from imadeitso, who created a very funny post out of a mushy bowl of soup.


Thursday, October 14, 2010

Peanut Butter Granola Bars

I’m so glad peanut butter isn’t what it used to be. The kind I used to eat is still available – you know the stuff – with added sugar, salt and oil and sometimes a bunch of other stuff that has no business being in food – but thankfully, so is the unadulterated kind that consists simply of ground peanuts in a jar.

The downside to using “peanuts only” natural peanut butter, is that it requires refrigeration. And lots of stirring. And no matter how furiously I mix it, I always seem to end up with a blob of rock hard peanut butter at the bottom of the jar.


And because no one has the energy in the morning to take a chisel to it, to pry some loose for a piece of toast, the jar sits in the fridge with just a little bit left.

Is anyone else bothered when a new jar of something is opened before the last dregs from the old jar have been used up? It drives me bonkers. Luckily, I usually think of a way to turn it those remaining spoonfuls into something delicious and at the same get rid of the thing in the fridge that is mocking my sense of kitchen order.

So, after extracting the peanut butter from the jar, I decided to make some peanut butter granola bars. It’s no coincidence that the recipe is very similar to the recipe for Perfect Granola.

Peanut Butter Granola Bars
Makes 10

3 cups of oats
1/2 teaspoon of sea salt
1/2 cup of currents or raisins*
1/2 cup of walnuts, chopped*
1/3 cup of dried cranberries, chopped*
1/3 cup of sunflower seeds
1/4 cup flax seeds, ground
1/2 cup peanut butter (‘peanuts only’ type)
1/4 cup of grapeseed oil (or another neutral flavoured oil)
1/4 cup honey
1/4 cup of maple syrup
1/2 teaspoon of vanilla

Preheat oven to 300 degrees F. *Chop fruit or nuts into small pieces. (i.e. I even chop up the cranberries and raisins into smaller pieces.) If the pieces are too large, the bars will fall apart. Flax seeds can be ground in a blender. Put oats, salt and chopped fruit, nuts and seeds into a large bowl and set aside.


In a sauce pan, add peanut butter, maple syrup, honey and vanilla.


Stir constantly on low just until it starts to boil.


Then immediately take it off the heat and pour over oat mixture. Mix well, making sure everything is well coated. Press into a greased 9x9 inch square baking dish, packing it down as firmly as possible with the back of a spoon.


Bake for 30-35 minutes until the edges start to brown.


Let bars cool in the pan completely before cutting.


Keep in a covered container for up to a week.

Sunday, October 3, 2010

Green Salad with Pears and Cranberries

Last fall I re-discovered pears thanks to the gift of a generous gardener. I received a huge basket of them - freshly picked. And after the basket was gone and all throughout the winter, I found myself craving them and seeking them out - forgoing my usual winter fruit choices - apples, bananas and oranges.

This year, I was lucky enough to help pick them.


All this from a single tree...


Aren't they beautiful? I see these and I understand why artists paint still lifes.


I had planned to make a pear tart, thinking that the basket would ripen all at once. But I've had a lovely bunch in my fridge for weeks now and putting one or two out at a time seems to have kept them just perfect for eating.

I decided to use a few in a salad. I wanted a recipe that would benefit from their subtle sweetness. Here's what I came up with:

Green Salad with Pears and Cranberries
Serves 2

Mixed Field Greens (buy a blend or make your own with the following: arugula, radicchio, romaine lettuce, baby spinach, frisee)
2 ripe Bartlett pears
2 Tablespoons of dried cranberries
2 Tablespoons of roasted sunflower seeds
2 slices of dense multi grain bread
2 Tablespoons + 2 Tablespoons of olive oil
1 Tablespoon white wine vinegar
1 Tablespoon whole grain (also called old-fashioned) Dijon mustard
sea salt and black pepper

Step 1: Make Croutons
In a large frying pan, heat 2 Tablespoons of olive oil. Cut bread into cubes and grill over low heat until the oil is absorbed and the cubes are browned and crisp.


Step 2: Make Dressing
In a small bowl combine remaining oil, vinegar, mustard and salt and pepper to taste.

Step 3: Prepare fruits and vegetables
Wash and dry greens and tear into pieces. Wash and core the pears. If the skins are a bit tough, you can peel them. Then slice them into wedges.


Step 4: Toss
Just before serving, gently toss everything together in a large bowl. Add the croutons just before tossing with the dressing so they stay crisp. Be careful not to crush the pears. Adjust seasoning and serve at room temperature.


I realize in this photo you can't see the pears very well, but they're in there!

Saturday, October 2, 2010

Vanilla Maple Blueberry Cake

Birthday surprise....

This post is long overdue. A while back, I had a birthday. And I must have been hinting pretty hard about wanting a cake. In fact, I know I was. 

A few days before my birthday, Mr. PL and I were watching something on TV and someone was messing up some baking...dropping the egg right into the flour or something like that. I wondered aloud about how it was they didn't know about 'wet' and 'dry' ingredients. Mr. PL said..."I guess baking's a lot like chemistry." Well, I saw my chance.

"Have you ever baked anything?" I asked. "Like cookies? Or a cake?"

"No, I don't think I have," he said.

"Hmmm. You should try it sometime," was my casual reply.

Now, I wasn't hinting with the expectation that my subtle 'request' would be at all acknowledged. But in the back of my mind I thought, "Wouldn't it be sweet if he got my drift and baked me a cake for my birthday?" Poor guys...I mean really. It's no wonder they never know what we're taking about.

Much to my delight, I arrived home on my birthday to find a beautiful cake. And, a funny story about how he tried to blend a hard block of butter with some water and a hand blender, only to end up with butter on the walls. Some of the butter stayed in the bowl and made it into the batter in chunks. His rationale: they'll melt. Well, he was right - the cake was delicious!

He also surprised me with a set of photos that I could post on my blog. I'll let the pictures tell the rest of the story...

Vanilla...


Maple...


Blueberry....


Cake!


Sweet :)

Wednesday, September 22, 2010

Quick Refrigerator Dills


The last few years I've done a wee bit of preserving each fall. I've tried something new every year. Despite the effort spent chopping, peeling or straining, and the time spent over the stove stirring and boiling jars, I inexplicably worked in small batches, yielding just a few jars of whatever it was I made. I wasn't overly confident at the start. The process seemed daunting. I certainly wasn't prepared to purchase a large canner for boiling jars which would take up a whole cupboard and sit unused the rest of the year. And I really didn't want to end up with 20 jars of something that didn't work out.

But, to my surprise, it wasn't that hard. It did take a fair bit of patience, but it was rewarding. Over the years I've tried: apple butter (after I discovered there is no butter in apple butter), concord blue grape jelly (when I discovered that these grapes are terrible for eating), and crab apple jelly (when a friend discovered that the pesky tree dumping little bits of fruit into her back yard actually produced something wonderful).

Last year I found a fantastic book at the library called "The Complete Book of Pickling: 250 Recipes from Pickles and Relishes to Chutneys and Salsas" by Jennifer MacKenzie. I suddenly felt really ambitious and tackled curried pickled cauliflower, dill pickles, corn and tomato salsa and peach chutney. And I moved on to slightly bigger batches, so I still have a jar of each of the last two.


I also still have an enormous bag of pickling salt...


If you're trying pickling for the first time, I suggest you buy only as much as you need at a bulk store. Pickling salt (left) is much coarser than table salt.


Last year's dill pickles were surprisingly good. I used one of the recipes for Classic Quick Dill Pickles* (slightly adapted) from the book and decided to make them again this year. *The book credits Pat Burley with the original recipe.

I bought a nice batch of baby dill cucumbers. And then a very long time passed. When I finally had time to make my pickles, I found some very sad looking cucumbers. Here's the worst one:


What to do? I really really hate throwing food away (unless it's harmful). But these cukes weren't dangerous, just ugly. So, I peeled off the wrinkly skins and they were still nice and crisp. I sliced them up and invented what I'm calling...

Quick Refrigerator Dill Pickles
Makes 2 - 1 litre mason jars

3 litre basket of baby dill cucumbers
3 1/2 cups of water
1 1/3 cups of white vinegar
1 1/2 tablespoons of pickling salt
1 tablespoon of granulated sugar
2 cloves of garlic, cut in half
2 tablespoons of dill seed

Equipment: 2 - 1 litre mason jars with lids (disks and bands)

Note: Because these jars go directly into the fridge, there is no need to process them in a water bath canner. However, if you want to make true preserves, it's essential that you follow your recipe's instructions and recommended times for processing the jars to ensure food safety. For this recipe, it is still essential to sterilize the jars and to use new disks and bands (or at least fairly new ones free of dents and rust) and it's helpful to read through the recipe before starting.

Start by boiling a large kettle of water for sterilizing.

If skins are wrinkly, peel cucumbers. Otherwise just scrub them and slice them into coins. In a medium pot combine sugar, salt, water and vinegar. Bring to a boil over medium heat and stir until sugar and salt are dissolved.

While mixture is heating, sterilize jars. To sterilize, place jars in a sanitized sink and pour boiling water over all parts, including lids.

Place one clove of garlic and one tablespoon of dill seeds in each jar.


Divide cucumber slices between the two jars. Pour in hot pickling liquid leaving about 1/2 inch (1 cm) of room at the top for air. Wipe the rim and place hot lid disc on jar. Screw on band and let jars cool. Even though you're not processing the jars, the jars will probably still seal - you will hear them pop. Whether or not this happens, once the jars cool, put them in the fridge.


Now here's the not so quick part. You'll still want to leave them for about a week before you try them. But it will be worth the wait. In the fridge, they should keep for about 2 months after opening.

Thursday, September 16, 2010

Kale and Red Pepper Skillet Rice

This is not risotto...


I'm going to take some flak for this, but here goes... What's the deal with risotto anyway? And why do TV chefs make such a fuss over it? I understand it takes some patience and timing for a good batch, but I'm still not a fan. I'm happy to be proven wrong, but to me it's just mushy rice.

I prefer a rice dish that's drier and less starchy and with more texture. Brown rice fits the bill. Simmered with some veggies, some broth and a tiny bit of salty meat, it works as a complete meal - something with a lot of flavour that you can sink your teeth into.

I'm not into traditional bacon, but I'm sure it would be delicious in this recipe. I chose to use a bit of chicken bacon for added flavour and protein.


Kale and Red Pepper Skillet Rice
Serves 2

1 cup brown rice
2 slices of chicken bacon
1 red pepper
2 cups of chopped kale
1 medium onion
1 large clove garlic
2 cups of vegetable broth
1 cup of water
2 tablespoons of olive oil, more as needed

Note: You'll also need a large deep frying pan with a lid.

In a large frying pan, brown bacon and set aside. Heat 2 tablespoons of olive oil and sauteé onion and red pepper until soft. Add chopped kale and garlic and sauteé until kale is wilted.


Push the vegetables to the side of the pan and add the uncooked rice. Cook for 3-5 minutes stirring often. Add the broth and water. Chop the bacon and sprinkle it on top. Give it all a stir and bring liquid to a boil. Then reduce heat and simmer on low, covered, until rice is completely cooked. Season with salt and pepper.


Thanks to Steph at mmmm good for providing me with proof that I wasn't imagining Chef Ramsey and that line about the risotto....

Wednesday, September 15, 2010

Marinated Tofu Stirfry


In general, I like working with a minimum of tools and equipment in the kitchen. A good knife, a cutting board and a cast iron frying pan go a long way.

My mom has had the same two cast iron frying pans for as long as I can remember. After experimenting (read: burning) with stainless steel and trying out (read: scratching) non-stick versions, I realised that I should admit that my mom might be on to something. I went out and got the best, most versatile pan I’ve ever had. And it will last forever.

In the old days, you had to worry about “seasoning” your cast iron – this involved coating it with oil and heating it at high temperatures to protect it from rust and to create a non-stick coating. But many brands today offer a pre-seasoned version, which means your pan will need very little maintenance from the day you bring it home until the day you pass it on to your great grandchildren.

A cast iron pan with a lid works well for a small stirfry. (I’ve got nothing against the tried and true wok, but why store two pans if you can make do with one?) Toss the marinade in with the veggies and it will infuse them with flavour as they steam.


Marinated Tofu Stirfry
Serves 2

1 cup of brown rice
1/2 cup each of broccoli, carrots, onion, and asparagus, washed and chopped
1/2 block of extra firm tofu, cubed

Marinade:
1 tablespoon honey
1 teaspoon Thai red curry paste
2 tablespoons rice vinegar
1/3 cup soy sauce
1/2 teaspoon fresh or dried ginger
1 garlic clove, minced
1/2 cup water
1 tablespoon sesame oil

In a medium bowl, combine all marinade ingredients except sesame oil. Add tofu and marinate for 6-8 hours.


Cook rice according to your preferred method.

In a cast iron or other large fry pan, heat 1/2 tablespoon of sesame oil. Add tofu in one layer to the bottom of the pan (reserve the marinade). On low, brown tofu on all sides.

Add marinade to the tofu, then layer the veggies on top. Bring marinade to a boil then reduce heat to medium, cover, and simmer until veggies are tender crisp. When veggies are nearly done, uncover the pan, toss veggies and tofu in the marinade, turn up the heat and reduce the liquid slightly.

Pour over brown rice and drizzle with the remaining sesame oil.

Just a note: The jury is still out on tofu. Studies are mixed on its potentially beneficial or damaging estrogenic effects. My personal decision is to enjoy it occasionally, in moderation, choosing MSG free, non-GMO tofu. Please do what works for you.

Monday, September 13, 2010

Blueberry and Flax Pancakes

Every year when we head off to go camping, I make a list of all the fun food that we can whip up over our single burner Coleman stove. To classify anything I make as a "recipe" is stretching it. It's really a chance to take a vacation from cooking and indulge in some quick ready-to-eat foods that I try to stay away from the rest of the year. Somehow though, these meals prepared outside in the fresh air taste so amazing. Waking up to some strong coffee and a big plate of pancakes after a night under the stars tops it all.

I'm sure I'm not the only one who is thankful for a good "just add water" buttermilk pancake mix while camping. But when I'm back at home with my box of leftover pancake mix, I feel the need to put in a bit of effort, or it feels like cheating.

Enter a box of fresh Ontario blueberries and a healthy dose of ground flax seed for a more nutritious version of the campfire pancake. (Try adding ground walnuts or almonds to the mix for added protein and flavour.)


Yes, I used a mix, but no one is complaining...

Wednesday, August 25, 2010

Herbed Salmon Turmeric


Turmeric is a favourite spice in my house. Can you tell from the beat up old label on the spice jar?


A member of the ginger family, turmeric has been recognised for its health benefits for generations in South Asia. And its power as an anti-oxidant has been investigated in medical studies in the United States in recent years. Read more about turmeric…

I use it in all sorts of things - from curry to salad dressing to scrambled eggs. It gives them a bright orange colour and an earthy, peppery flavour. Mr. PL even sprinkles it on popcorn.

Herbed Salmon Turmeric was a recipe I made up to make use of some leftover potatoes. It was even better than I thought it would be, given that it had so few ingredients and was so easy to make.

I had some nice fresh baby bok choy.


And I was lucky that a generous gardener had just shared a huge bunch of fresh herbs.


Herbed Salmon Turmeric
Serves 2

2 boneless, skinless salmon fillets, chopped into large chunks
4 medium potatoes
2 cups mixed fresh herbs, chopped (chives, oregano, basil, green onions and radish greens)
1 cup baby bok choy, chopped
1 medium onion, chopped
1 teaspoon of turmeric
a few shakes of garlic salt
fresh ground black pepper
2 Tablespoons olive oil + more as needed

Cook potatoes - bake them, boil them - however you choose. I started with leftovers. Cut potatoes into cubes and set aside. In a large frying pan heat the olive oil and add the onions, stirring often and cooking until soft and translucent. Add the salmon and potatoes and turmeric, cooking on medium heat until the salmon is cooked through. Add more oil if needed and add the baby bok choy and herbs. Sautée until greens are wilted and salmon and potatoes are browned. Season with garlic salt and black pepper.

In the pan...


And on the plate...

Sunday, August 22, 2010

Green Eyed Monster Cookies

Guaranteed Smiles....


There is a place in Toronto that is guaranteed to put a smile on the face of anyone who visits.  We discovered it one evening in the middle of last winter. Looking for somewhere to grab a little dessert, we were sad to see that most of the little bakeries in the area had closed at 6 p.m. But then we saw the warm glow of a light on, a door opening onto the frozen street, and we ducked inside a little bake shop.

We were initially a bit disappointed. There seemed to be very little on offer, except a few cookies in the front showcase. But our sweet tooth needed satisfying, so we were mulling over the choices when an employee appeared and asked "Is this your first time here? Let me tell you how it works..."

Sweet Flour Bake Shop is a magical place. The concept is "bake your own cookie" and it's brilliantly executed. It seems so simple and yet so ingenius at the same time. You choose your cookie dough then you choose two mix-ins from a selection of brightly coloured candies, nuts, dried fruit, and chocolate pieces. And then the best part - the warm fresh cookie is baked and in your hands in only 2 minutes.

My first time there I chose what has since become my all time favourite cookie. I picked oatmeal dough with toffee bits (little pieces of Skor bar) and pistachios. I was even asked to name it for their wall, calling it "The Green Eyed Monster." The pistachios look like green eyes, the melted toffee gets really gooey and spread out - looks like a monster to me - and I like to think that everyone else is jealous of my delectable cookie :) It's a fantastic little shop. It's a great place to bring friends, the prices are reasonable and the whole experience is just a lot of fun. (Please note: Sweet Flour didn't offer me free cookies or anything to post this...I just like it there...)

That being said, sometimes you just need to bake some cookies at home. Which is why I ran out and bought a truck load of toffee bits from a bulk food store. I've made Green Eyed Monster cookies several times now, but to change it up I've also posted a slight variation on the recipe which I made recently (shelled unsalted pistachios are not always available at regular grocery stores). Toffee Almond Oatmeal Cookies are also delicious and they're the cookies pictured below. (Please note: This is my own regular oatmeal cookie recipe - I don't have Sweet Flour's...)

Green Eyed Monster Cookies
Makes about 30

1 cup all-purpose flour
½ cup whole wheat flour
1 cup rolled oats
½ teaspoon of sea salt
½ teaspoon baking soda
½ cup unsalted butter, softened
1 cup lightly packed dark brown sugar
1 large egg
1 ½ teaspoons vanilla
½ cup plain yogurt
½ cup toffee bits
¾ cup shelled unsalted pistachios, chopped coarsly

Preheat oven to 350.
Combine flours, oats, salt and baking soda in a bowl. Set aside.

Put butter and sugar into large bowl and mix on medium speed of electric mixture until pale. Add egg and vanilla and beat until light and moussy. Fold in yogurt. Add flour mixture and stir until combined. Stir in toffee bits and pistachios.

Drop dough in 1 ½ inch balls onto baking sheets lined with parchment paper. Bake cookies until lightly golden brown and set, about 12-13 minutes. Cool on sheets for 5 minutes, then transfer to a plate to cool completely. Store in air tight containers or freeze.

Or, you could just eat them.

Toffee Almond Oatmeal Cookies
Make the recipe as above, but substitute ¾ cup natural slivered almonds for pistachios.

Start with this...


Which turns into this...


Add some of this...


And you get these!